Free Wedding Seating Chart Maker: How to Build Yours Online
How to create a wedding seating chart online for free using a drag-and-drop builder. Covers what to look for in a seating chart tool, how to set up your floor plan, and how to assign guests to tables.

Ready to create your own event seating chart?
Try our free drag-and-drop seating chart builder.
Get Started →Spreadsheets, sticky notes, and hand-drawn diagrams used to be the only way to plan a wedding seating chart. They work, but they're slow, messy, and painful to update when guests cancel a week before the wedding.
Online seating chart makers let you do the whole thing visually, dragging guests between tables on a digital floor plan. Most importantly, the good ones are free to start with.
This guide covers what to look for in a seating chart tool, how to set up your plan from scratch, and how to get the most out of it.
What to Look for in a Wedding Seating Chart Maker
Not all tools are equal. Before you sign up for anything, check that it has:
- Drag-and-drop floor planner, so you can place and move tables visually instead of filling out forms
- Multiple table shapes, including round, rectangular, and custom sizes to match your venue
- Guest list management built in, so you're not switching between a spreadsheet and the planner
- RSVP and status tracking, so you can see who's confirmed, declined, or hasn't responded
- Export options, to download your chart as an image or PDF for your venue coordinator or day-of planner
- Sharing, so your partner, family, or planner can view the layout without creating an account
- Free tier that's actually usable, not a demo that locks everything behind a paywall
Avoid tools that require you to enter your credit card before you can try them. If the free version only lets you place three tables, it's a trial, not a free tool.
Setting Up Your Seating Chart in MySeatPlan
Here's how to go from zero to a finished seating chart using MySeatPlan, which is free to get started with.
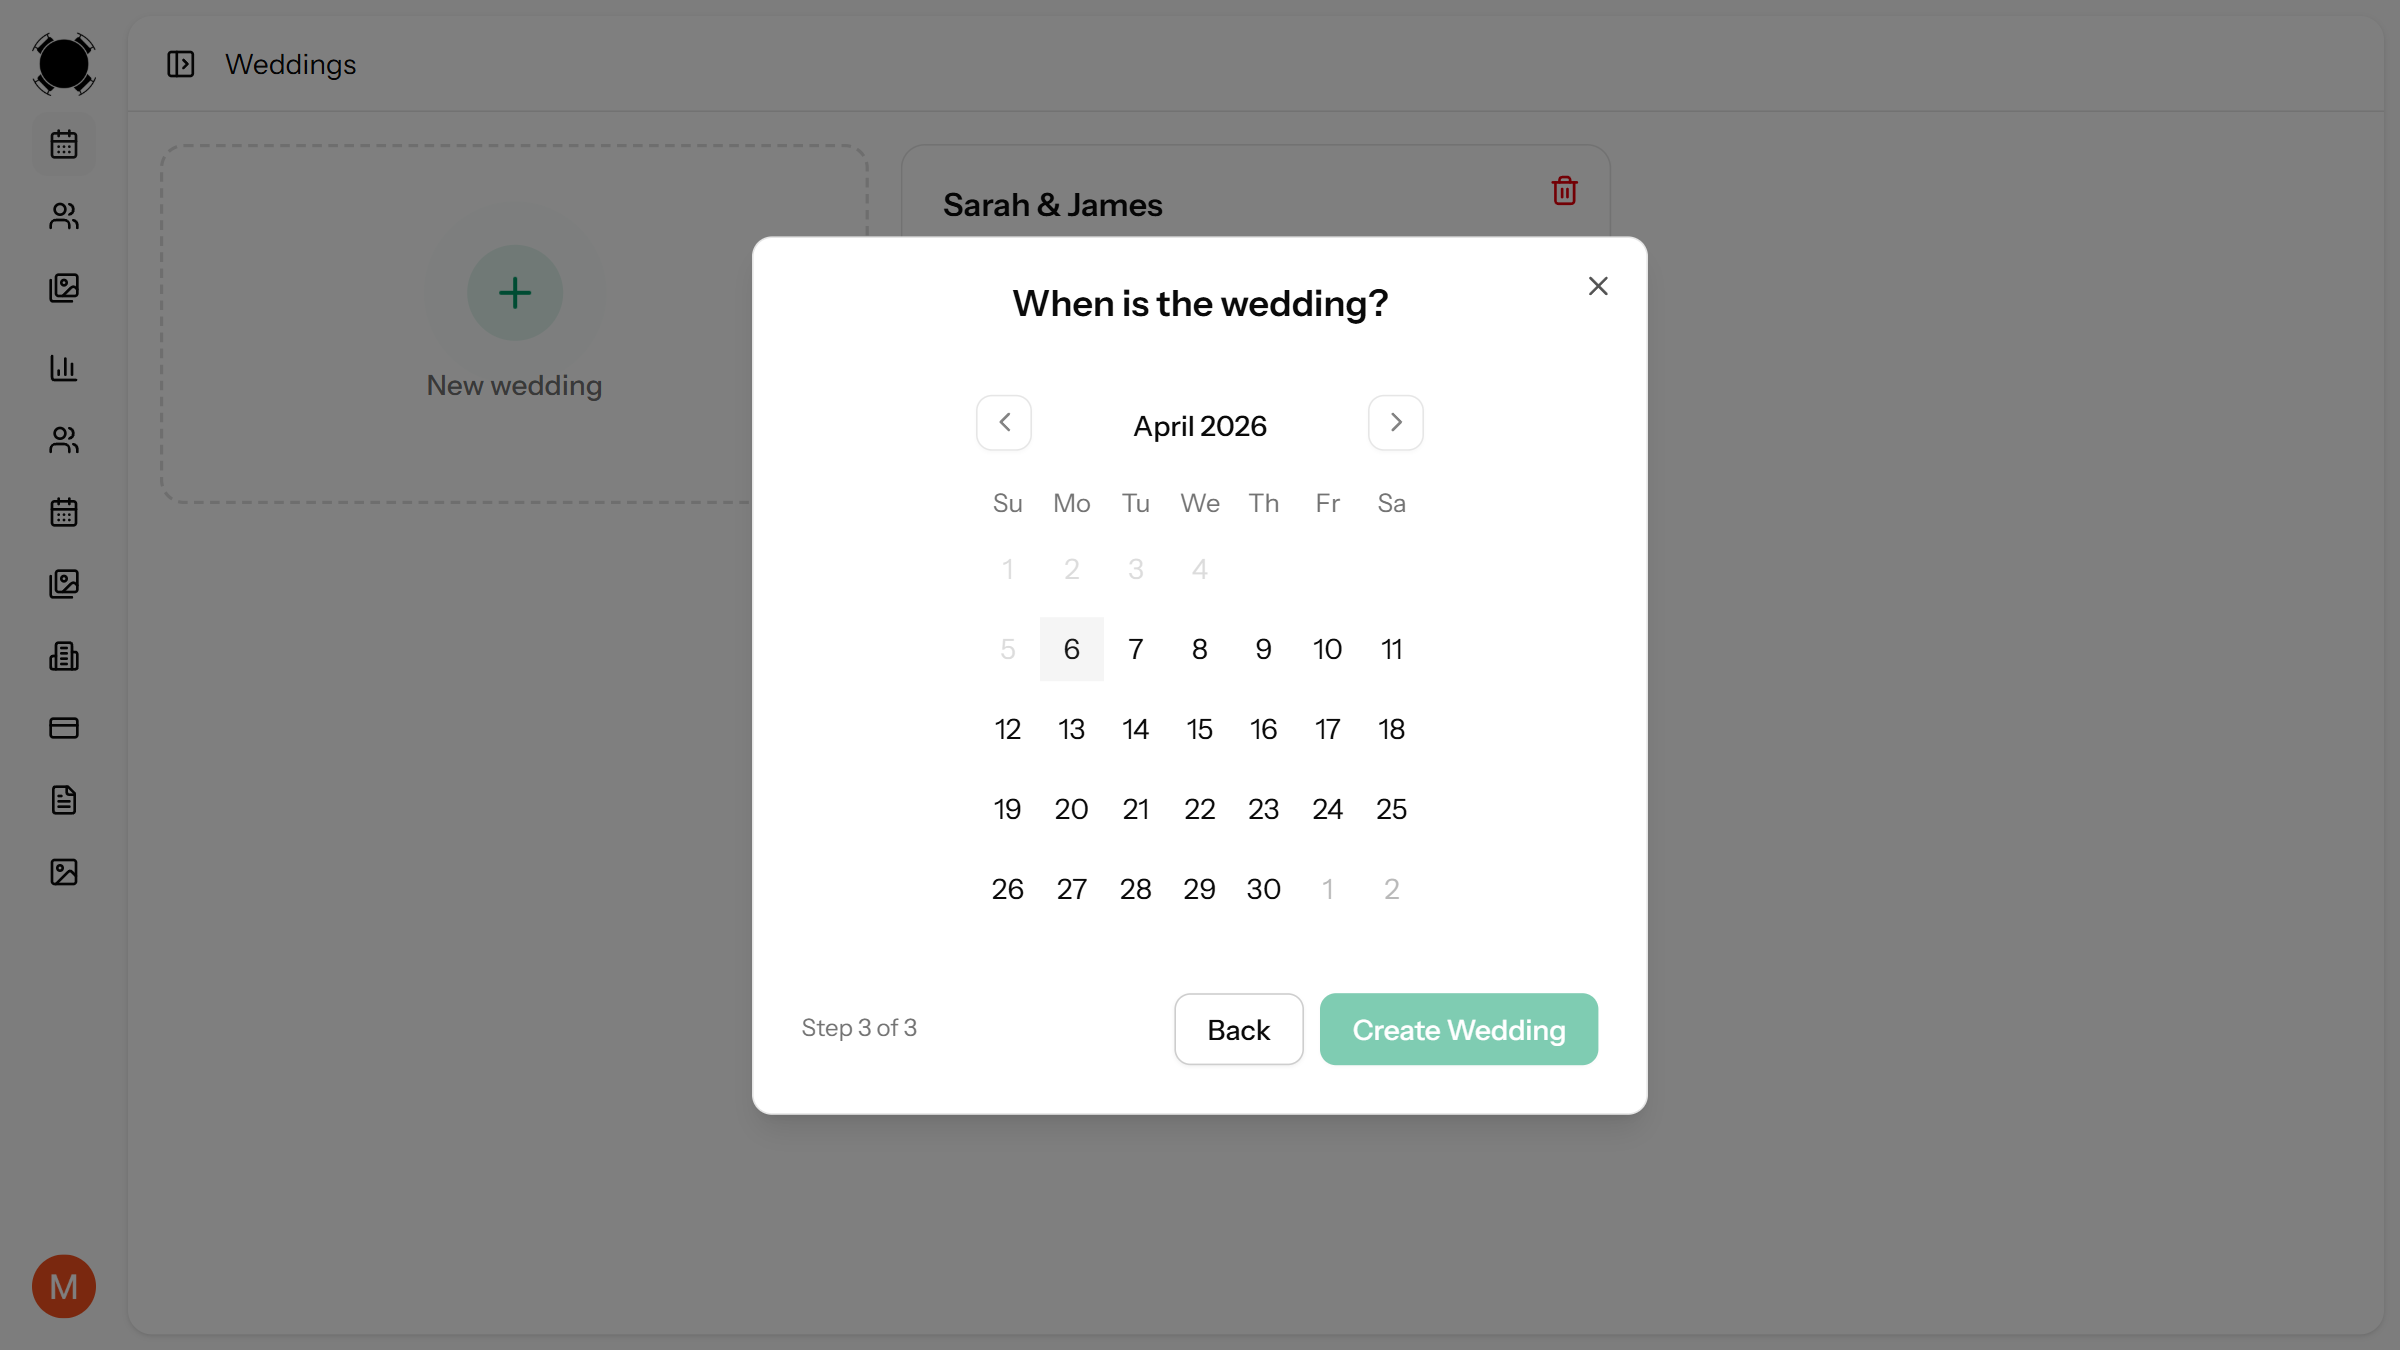
1. Create Your Event
Sign up and create a new event. Give it a name and date, and you'll land in the floor planner where you can start building your layout from a blank canvas.
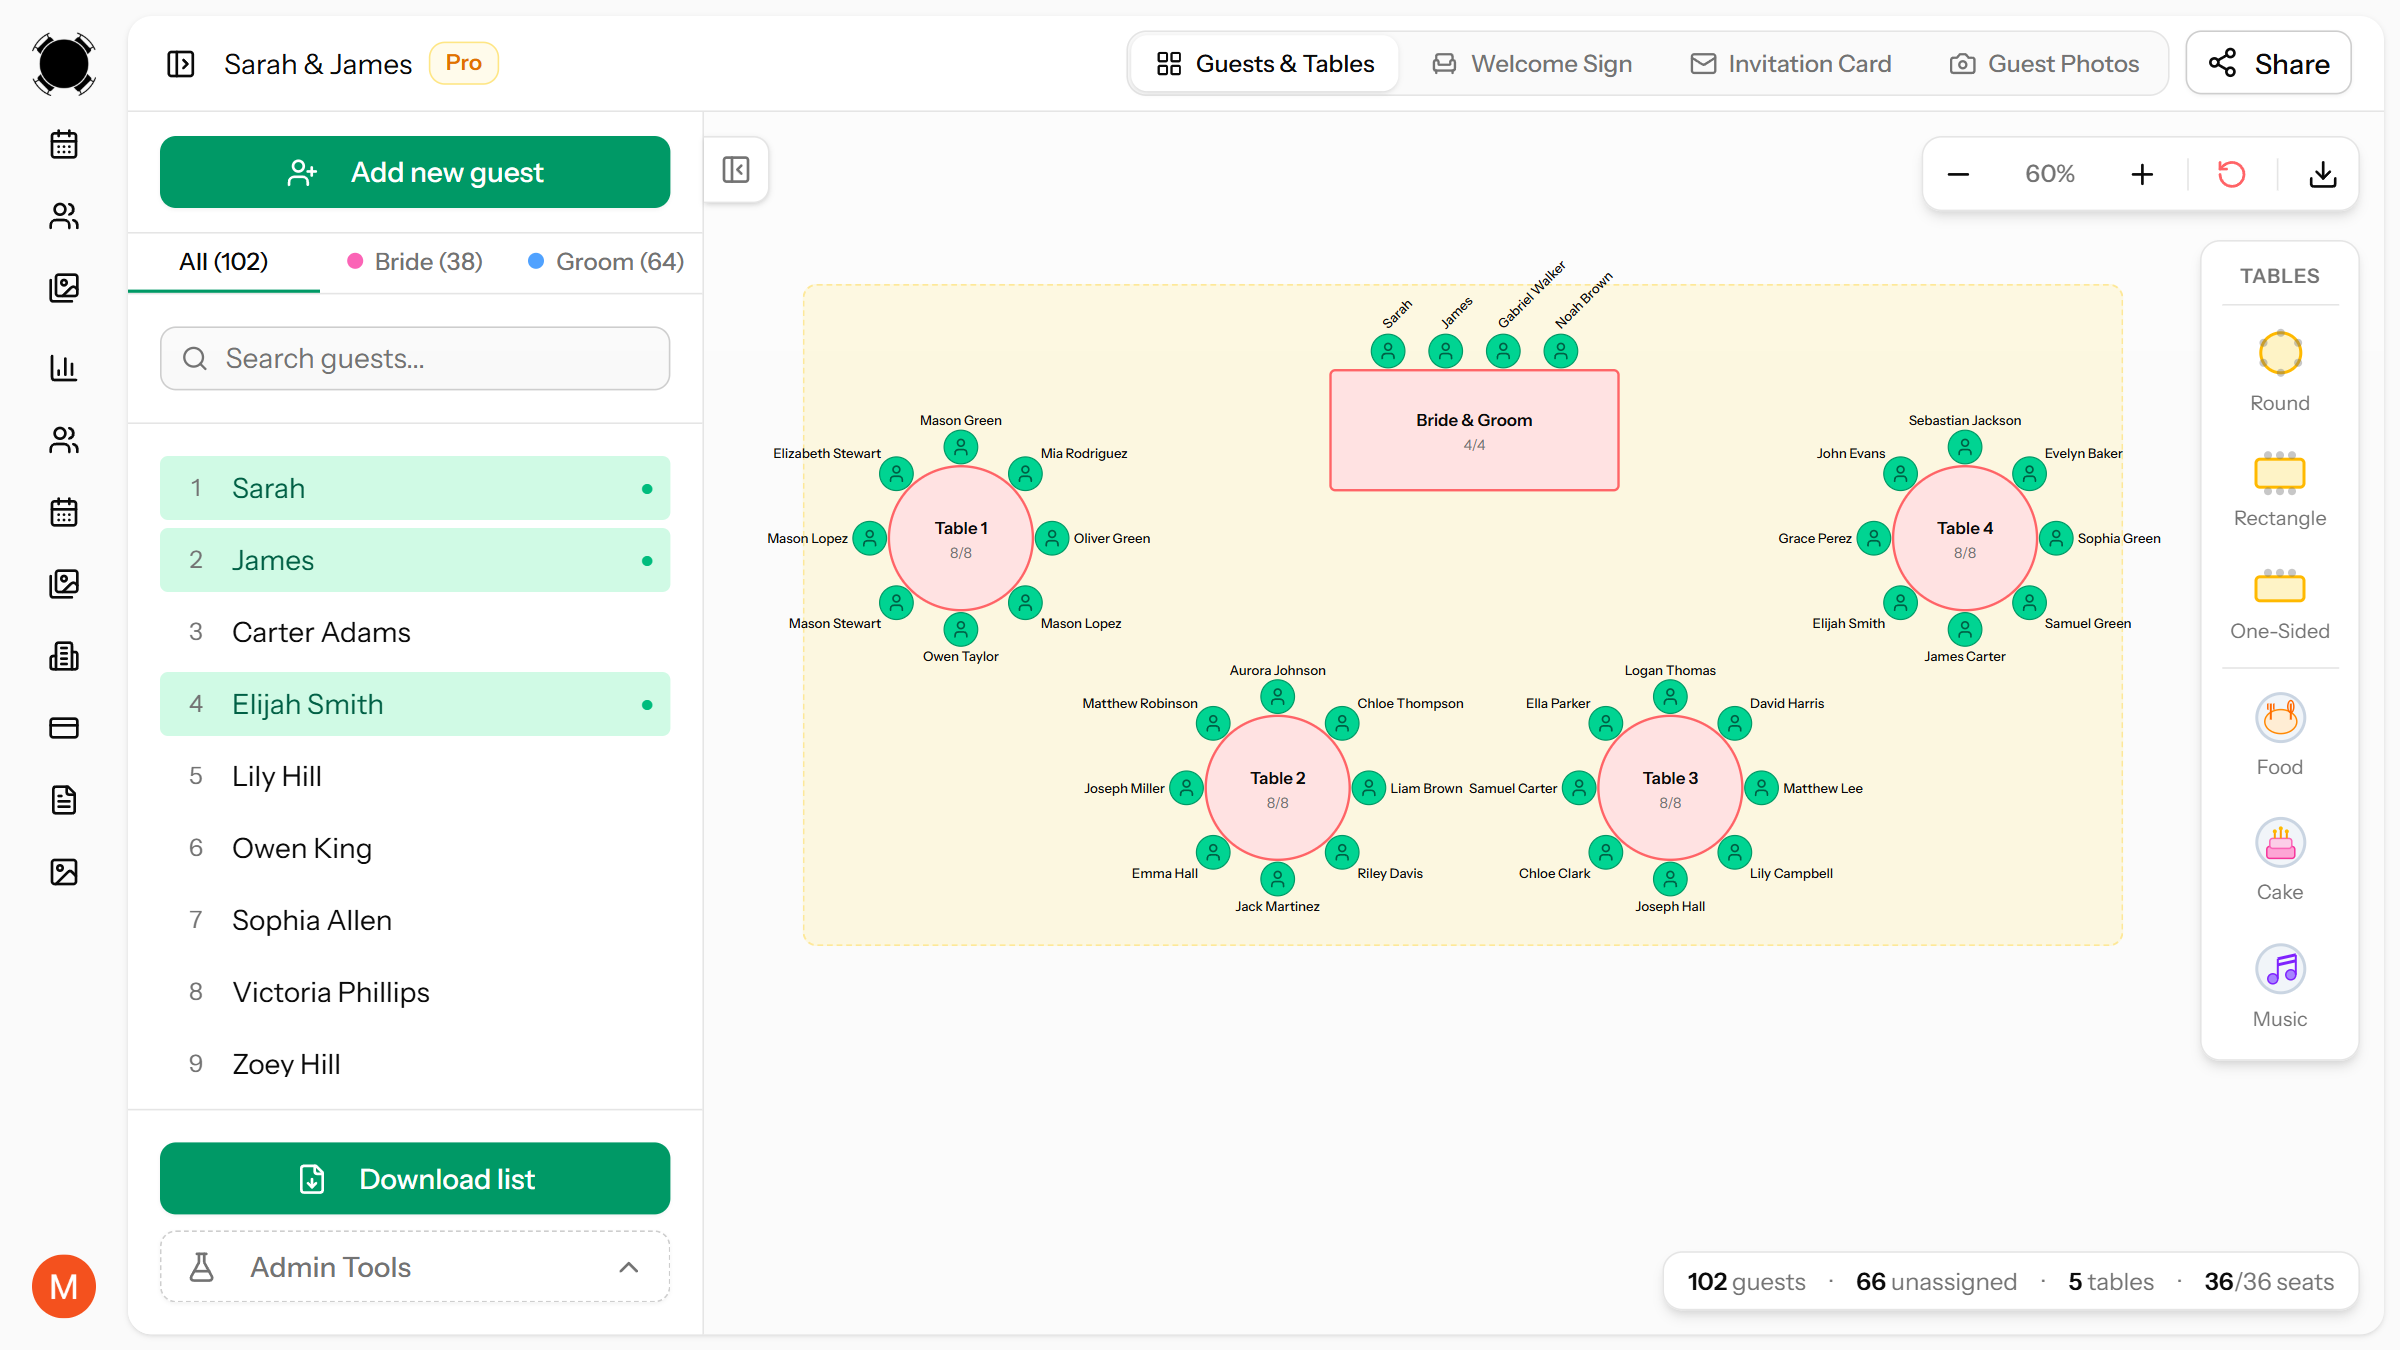
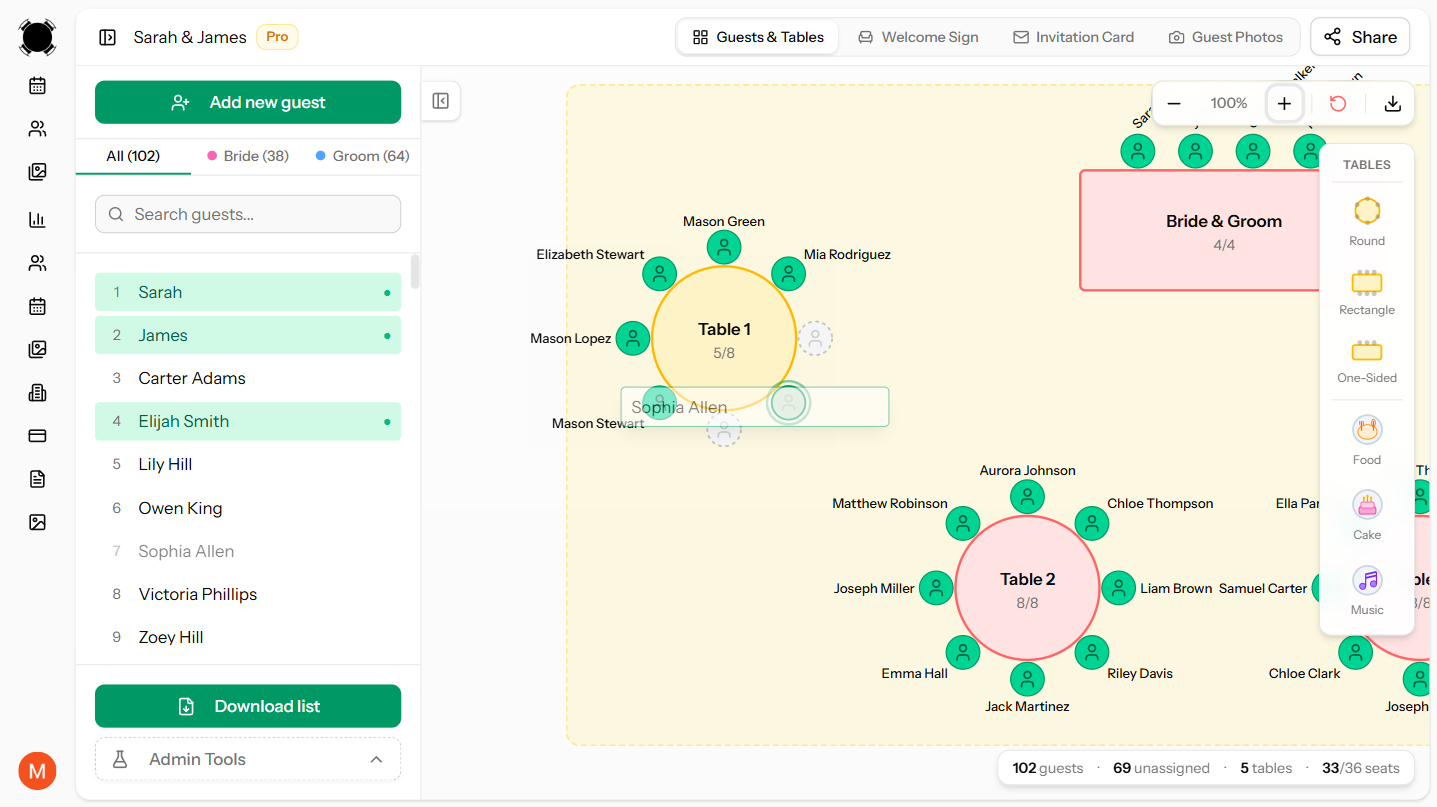
2. Build Your Floor Plan
Add tables to your floor plan by clicking the add button and choosing a table shape. You can place round tables, rectangular tables, or mix both. Drag them around to match your venue layout.
Each table has a configurable number of seats. If your venue has fixed elements like a dance floor, stage, or buffet area, position your tables around them so the layout reflects the real room.
3. Add Your Guest List
Add guests individually or paste a batch list if you already have names in a spreadsheet. Each guest can be tagged by side (his or hers) and tracked with invite and RSVP status.
If you need a deeper guide on organizing your guest list and grouping guests for seating, see our step-by-step seating chart guide.
4. Assign Guests to Tables
This is where the drag-and-drop really shines. Drag a guest from your list onto a table, and they're assigned. Need to move someone? Drag them to a different table. Need to unassign? Drag them back to the list.
You can see at a glance which guests are assigned (highlighted in green) and which still need a seat. The floor plan updates in real time, showing exactly how many seats are filled at each table.
5. Review and Share
Once everyone has a seat, review your layout. Check that no table is overcrowded, that couples are sitting together, and that known conflicts are separated.
When you're happy with it, you can share your plan with your partner or wedding planner via a shareable link, no account needed on their end. You can also export the seating chart as an image to send to your venue coordinator.
Free vs Paid: What Do You Actually Get?
Most seating chart tools offer a free version with limits and paid upgrades for larger weddings. Here's what to expect:
Free Plans Typically Include
- A limited number of tables and guests (enough for smaller weddings)
- Drag-and-drop floor planner
- Basic guest list management
- Guest status tracking
Paid Plans Typically Add
- More tables and guests for larger receptions
- Image and PDF export
- Shareable links for collaborators
- Guest photo uploads
For weddings under 40–50 guests, a free plan is usually enough. For larger weddings, upgrading is typically a one-time payment, not a subscription.
Tips for Getting the Most Out of Your Seating Chart Tool
- Don't start too early. Wait until you have at least 80% of your RSVPs before building your chart. Otherwise you'll redo it multiple times.
- Use status tracking. Mark guests as confirmed, declined, or unknown so you know exactly where you stand. This saves you from counting names on a spreadsheet.
- Keep a few empty seats. Spread 1–2 open spots across different tables for last-minute additions or changes.
- Share early with your partner. Two sets of eyes catch seating conflicts that one person misses, especially with extended family dynamics.
- Don't print until the last minute. Wait until 3–5 days before the wedding to print place cards. Things will change, and a digital plan makes last-minute edits painless.
Why Use an Online Tool Instead of Paper or Spreadsheets?
You absolutely can plan a seating chart on paper or in a spreadsheet. People have been doing it for decades. But there are real advantages to using a dedicated tool:
- Visual layout. You see the actual room, not a list of names. It's immediately obvious if a table is too close to the speakers or if two tables are unbalanced.
- Easy changes. Moving a guest takes one drag, not erasing and rewriting. When three guests cancel the week before, you can restructure in minutes.
- Nothing gets lost. Your plan is saved online. No coffee-stained paper charts, no "which version of the spreadsheet is the latest?"
- Collaboration. Share a link with your partner and you're both looking at the same plan, not emailing spreadsheet versions back and forth.
Summary
Building a wedding seating chart online is faster and less stressful than doing it by hand. The right tool lets you visually arrange your venue, drag guests between tables, track RSVPs, and share the result with anyone who needs it.
If you're ready to start, create your free seating chart on MySeatPlan. It takes about five minutes to set up your floor plan, and you can start assigning guests right away.
Frequently asked questions
-
Yes, there are free wedding seating chart makers available online, including MySeatPlan. These tools let you create a visual floor plan, add guests, and assign seats using drag-and-drop functionality. Free plans are usually enough for smaller weddings and allow you to start building your seating chart without any upfront cost.
Plan your perfect event seating arrangement
MySeatPlan gives you everything you need to organize your big day — all in one place.
- Drag-and-drop seating chart
- Guest list with RSVP tracking
- Export seating charts as images & PDF
- Share your plan with others via shareable link
- Design your invitation card
- Guest photo & video uploads