Wedding Guest List Template: How to Organize and Track RSVPs
A practical guide to building your wedding guest list, tracking RSVPs, and keeping everything organized. Includes what information to collect for each guest and how to know when your list is ready for seating.
Ready to create your own event seating chart?
Try our free drag-and-drop seating chart builder.
Get Started →Your guest list is the foundation of your entire wedding plan. The venue size, catering count, seating chart, and budget all depend on it. But most couples start with a messy notes app list or a spreadsheet that quickly becomes impossible to manage.
This guide covers how to build a guest list that stays organized from the first name to the final RSVP, what information to track for each guest, and how to manage the whole process without losing your mind.
Start With Categories, Not Names
Before you start writing names, agree on the categories of people you're inviting. This prevents the list from growing uncontrollably and makes it easier to cut if you need to.
Common categories:
- Immediate family — parents, siblings, grandparents
- Extended family — aunts, uncles, cousins
- Close friends — your inner circle
- Friend groups — college, childhood, work
- Parents' guests — people your parents want to invite (agree on a number per side)
- Colleagues — only if you're genuinely close, not out of obligation
- Plus-ones — partners of invited guests
Agree with your partner on rough numbers per category before adding names. "20 family, 15 close friends, 10 from each friend group, 10 parents' guests per side" gives you a framework. Without it, the list tends to balloon past your venue capacity.
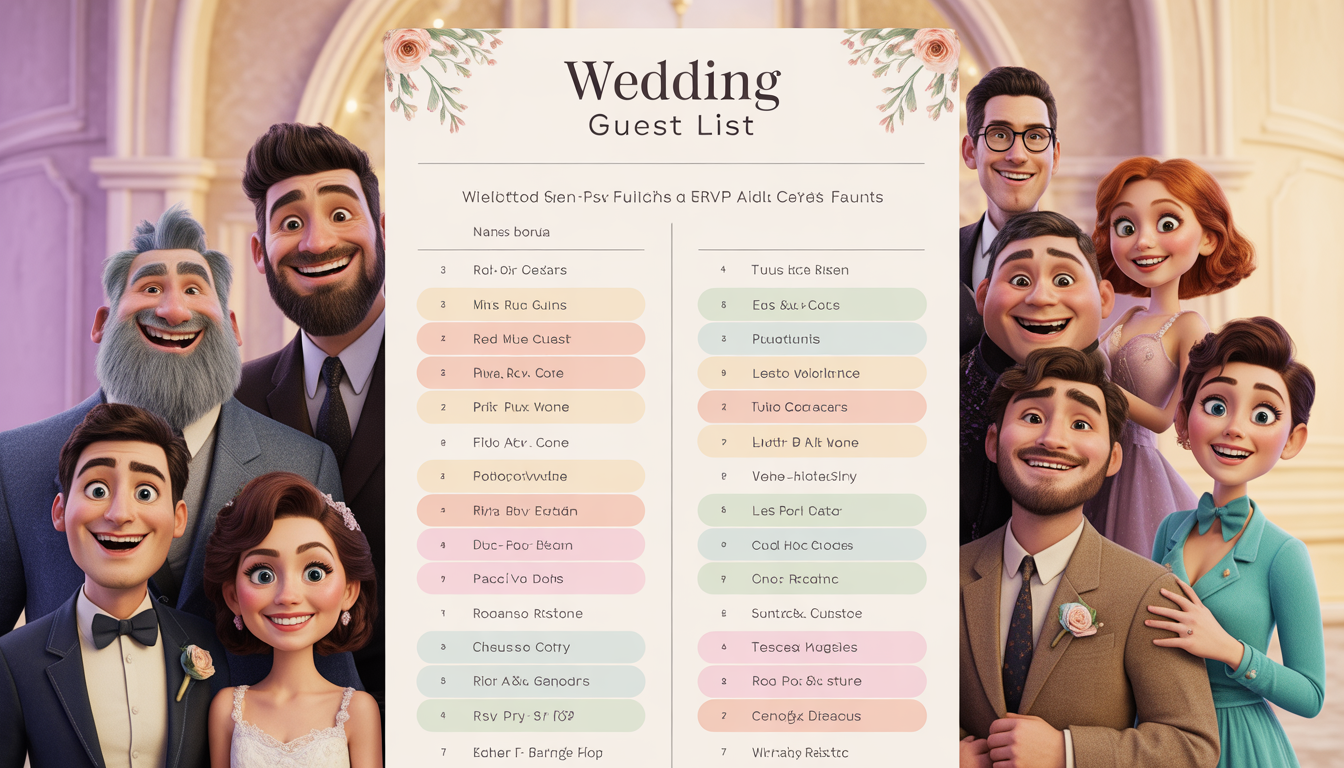
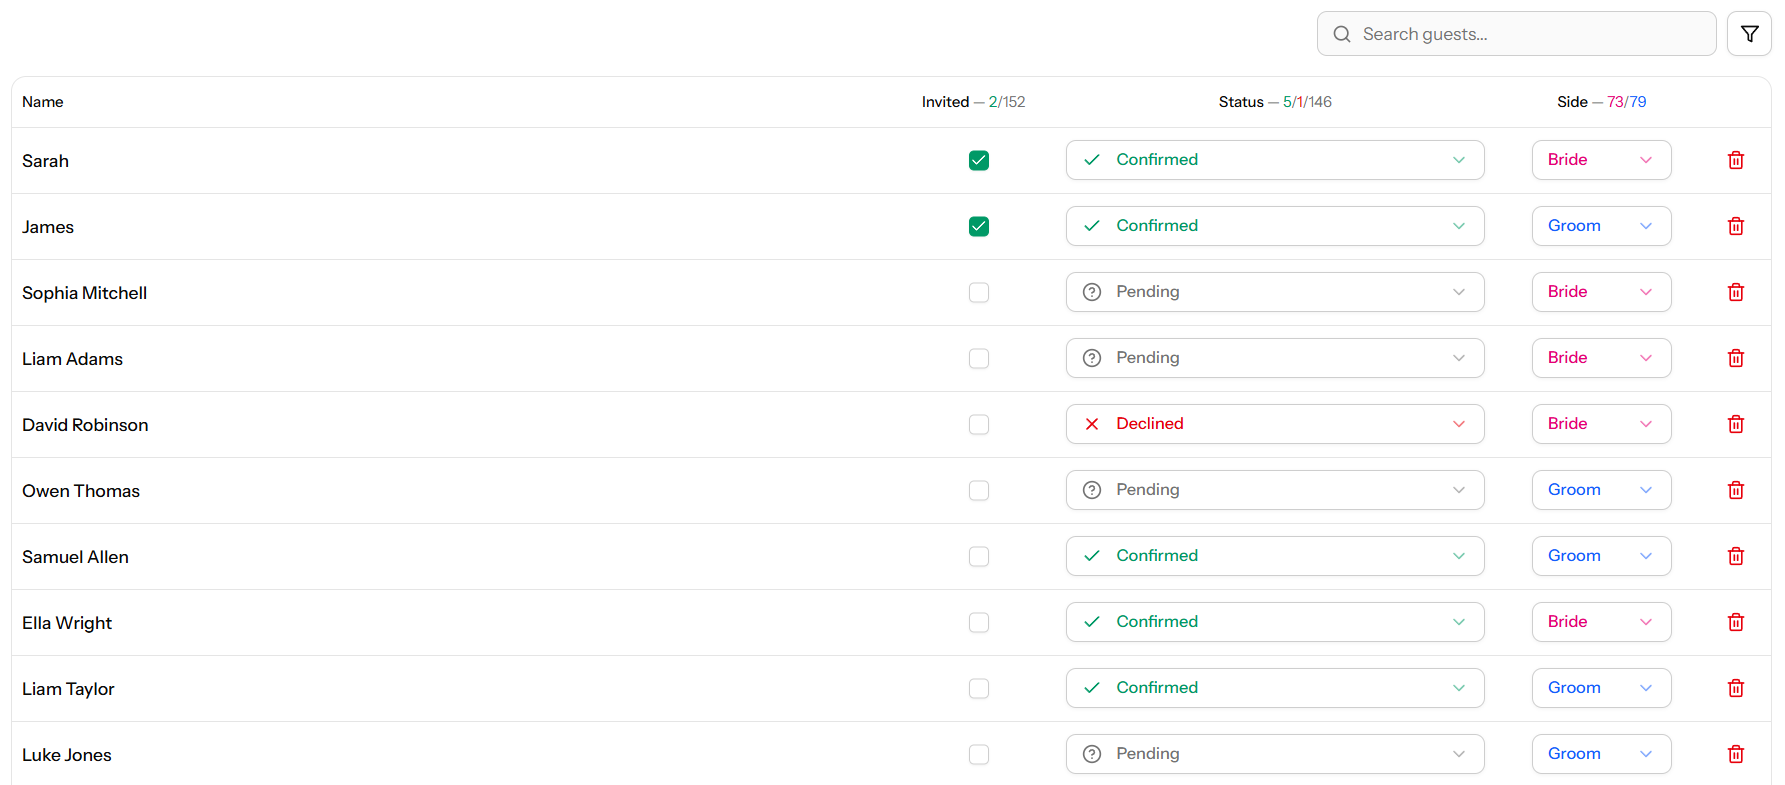
What to Track for Each Guest
A name-only list stops being useful the moment you need to do anything with it. For every guest, track:
| Field | Why You Need It |
|---|---|
| Full name | Place cards, seating chart, invitations |
| Side (his/hers/shared) | Balancing the room, seating by connection |
| Category | Family, friend group, colleague, etc. |
| Invite sent | Track who has and hasn't received their invitation |
| RSVP status | Confirmed, declined, or no response yet |
| Plus-one | Whether they're bringing a date and who |
| Dietary needs | For your caterer |
| Notes | Anything relevant: "don't seat near Uncle Mark," "needs wheelchair access," "bringing kids" |
This might seem like a lot, but filling it in as you go is much easier than scrambling to collect this information two weeks before the wedding.
The A-List / B-List Strategy
If your ideal guest list is larger than your venue capacity, use an A-list / B-list approach. This is completely normal and not rude, as long as you handle it correctly.
How it works
- Your A-list is the must-invite group. Send their invitations first, with an early RSVP deadline.
- As A-list declines come in, send invitations to your B-list to fill the spots.
- B-list invitations should go out at least 4–6 weeks before the wedding, so those guests don't feel like an afterthought.
Rules for the B-list
- Never tell anyone they're on the B-list
- B-list invitations should look identical to A-list invitations
- Set your A-list RSVP deadline early enough to leave time for B-list invitations
- If you can't invite B-list guests at least a month out, don't send the invitation at all
How to Handle Plus-Ones
Plus-ones are one of the biggest sources of guest list confusion. Here are clear rules:
- Married couples, engaged couples, and live-in partners are always invited together. They count as one unit, not a guest plus a plus-one.
- Guests in serious relationships (dating for 6+ months) should be given a plus-one. You don't have to, but it's considerate.
- Single guests don't automatically get a plus-one. It's generous if your budget allows it, but not expected. If a single guest won't know anyone else at the wedding, a plus-one is a kindness.
- Be consistent. If you give one single friend a plus-one, give all single friends the option. Selective plus-ones create hurt feelings.
Each plus-one is a seat, a meal, and a line on your seating chart. For a wedding of 100, generous plus-one rules can add 15–25 extra guests. Factor that in early.
Managing RSVPs Without Going Crazy
RSVP tracking is where most guest lists fall apart. You send out invitations, some people respond immediately, some respond late, and some never respond at all.
Set a clear deadline
Your RSVP deadline should be 3–4 weeks before the wedding. This gives you time to follow up with non-responders, finalize your catering count, and build your seating chart. Put the exact date on the invitation, not "please respond at your earliest convenience."
Track responses in one place
Don't track RSVPs across text messages, emails, phone calls, and sticky notes. Every response goes into your guest list immediately, in one central location. The moment someone confirms or declines, update their status.
MySeatPlan has built-in guest status tracking, so you can mark each guest as confirmed, declined, or awaiting response right alongside your seating chart. When you're ready to assign seats, your confirmed guest list is already there.
Follow up with non-responders
Expect about 20–30% of guests to not respond by the deadline. This is normal. One week after the deadline, follow up:
- Start with a friendly text or message. "Hey, just checking in on your RSVP for the wedding — would love to know if you can make it!"
- If no response after a few days, call them directly. Some people genuinely forgot. Others are avoiding declining.
- If you still can't reach someone after two attempts, you need to make a decision. Either assume they're not coming and fill their seat, or hold the spot and risk an empty chair.
When to Stop Adding People
The guest list needs a cutoff point. Without one, names keep trickling in from parents, relatives, and your own guilt. Set these boundaries early:
- Lock the A-list at least 3 months before the wedding
- Stop accepting additions from parents once invitations are printed
- Last possible addition is 4 weeks before the wedding (for B-list fills)
Every late addition means re-doing part of your seating chart, adjusting the catering count, and potentially printing a new place card. One or two is fine. Ten late additions is a headache you don't need.
From Guest List to Seating Chart
Your guest list is ready for seating when:
- At least 80% of RSVPs are in
- Every confirmed guest has a status marked (confirmed, not just "invited")
- All plus-ones are named (not just "John + guest")
- You've noted any seating considerations (conflicts, accessibility needs, kids)
Once those boxes are checked, you're ready to move from the list to the layout. The guest groupings you've already established (family, friend groups, work friends) become the starting point for table assignments.
For the next step, follow our step-by-step seating chart guide, which picks up right where your guest list ends. If you want to make sure your assignments follow proper protocol, check our etiquette guide. And to avoid the most common pitfalls, see our seating chart mistakes guide.
Guest List Checklist
- Agree on categories and rough numbers per category with your partner
- Track full name, side, RSVP status, plus-one, and dietary needs for every guest
- Use an A-list / B-list approach if your ideal list exceeds capacity
- Set a firm RSVP deadline 3–4 weeks before the wedding
- Follow up with non-responders one week after the deadline
- Lock the guest list and stop additions at least 4 weeks out
- Move to the seating chart once 80%+ of RSVPs are confirmed
Frequently asked questions
-
A wedding guest list template should include each guest’s full name, RSVP status, plus-one details, dietary requirements, and notes for seating. Tracking categories (family, friends, colleagues) also helps with organization and later seating arrangements.
Plan your perfect event seating arrangement
MySeatPlan gives you everything you need to organize your big day — all in one place.
- Drag-and-drop seating chart
- Guest list with RSVP tracking
- Export seating charts as images & PDF
- Share your plan with others via shareable link
- Design your invitation card
- Guest photo & video uploads