How to Create a Wedding Seating Chart: A Complete Step-by-Step Guide
A practical guide to creating your wedding seating chart, from organizing your guest list to finalizing table assignments. Covers layouts, etiquette, and common mistakes.
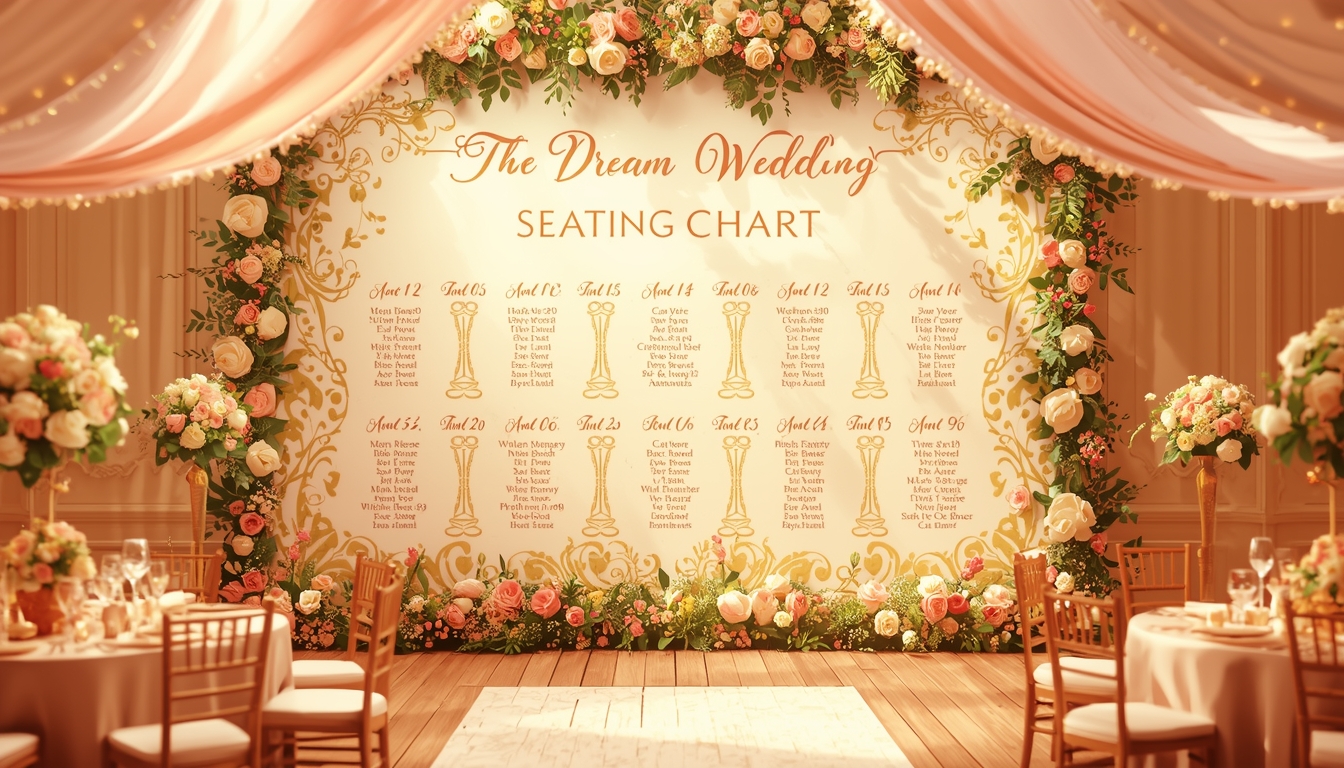
Ready to create your own event seating chart?
Try our free drag-and-drop seating chart builder.
Get Started →Creating a wedding seating chart is one of the most stressful parts of wedding planning, but it doesn't have to be. With the right approach, you can go from a messy guest list to a finished seating plan in a few focused sessions.
This guide walks you through the entire process step by step, from gathering your guest list to making final adjustments the week of your wedding.
Before You Start: What You'll Need
Before you sit down to assign seats, make sure you have:
- A finalized guest list with confirmed RSVPs
- Your venue floor plan, including table shapes, sizes, and any fixed elements (dance floor, DJ booth, buffet stations)
- A rough idea of your table layout, whether that's round tables, long tables, or a mix
- Notes on any guest dynamics you need to account for (family tensions, divorced parents, guests who don't know anyone)
If RSVPs are still coming in, don't wait until the last one. Start building a draft seating chart once you have about 80% of your responses, and adjust as the rest come in.
Step 1: Choose Your Table Layout
Your table layout sets the foundation for everything else. The three most common options are:
Round Tables (Most Popular)
- Typically seat 8–10 guests per table
- Everyone can see and talk to each other
- Work well in most venue shapes
- Require more floor space than long tables
Long Rectangular Tables (Banquet Style)
- Seat 8–12 guests depending on length
- Create an elegant, formal look
- Conversation tends to stay between neighbors, so guests at opposite ends won't interact much
- Space-efficient for narrow venues
Mixed Layouts
- Combine round and long tables for visual variety
- Use a long head table or sweetheart table for the couple, with round tables for guests
- Works well in larger or irregularly shaped venues
Quick rule of thumb: for receptions with 80+ guests, round tables are the easiest to manage. For intimate weddings under 50, long tables create a warm, family-dinner feel.
Step 2: Decide on Your Head Table
The head table is where you and your partner sit. There are two common approaches:
Traditional Head Table
A long table at the front of the room seating the couple, wedding party, and sometimes their partners. Everyone faces the room. This works well for formal weddings but can be awkward if wedding party members don't know each other's partners.
Sweetheart Table
A small table for just the couple. Your wedding party sits with their own friends or partners at regular guest tables. This is increasingly popular because it's simpler to plan and lets everyone sit with people they actually want to talk to.
There's no wrong choice, just pick whichever feels right for your wedding style.

Step 3: Group Your Guests
This is where the real work begins. Before assigning specific seats, sort your guests into logical groups:
- Immediate family — parents, siblings, grandparents
- Extended family — aunts, uncles, cousins (split by side if needed)
- Close friends — your inner circle
- Friend groups — college friends, work friends, childhood friends
- Couple's shared friends — people who know both of you
- Plus-ones and partners — keep them with their date, not separated
- Colleagues — group together so they have people to talk to
- Kids and families — seat families together, consider a kids' table for older children
Once you have your groups, you'll notice most tables fill themselves naturally. A table of 8–10 is usually one or two friend groups combined, or one branch of the family.
Step 4: Handle Tricky Seating Situations
Every wedding has a few guests who need special consideration. Here's how to handle the most common scenarios:
Divorced Parents
Seat them at separate tables, each with their own family or friends. Place them on the same side of the room but not directly next to each other. If one parent has a new partner, seat the new partner with them.
Guests Who Don't Know Anyone
Never leave someone at a table where they know nobody. Seat them with the most outgoing, welcoming group you have, or with other guests in the same situation. A table of friendly strangers bonds faster than you'd think.
Guests Who Don't Get Along
Separate them by at least two tables. Don't just put them on opposite sides of the same table, that's still too close. If the tension is between family members, seat them in different sections of the room entirely.
Single Guests
Group single guests together if they're in a similar age range. Avoid scattering them across tables of couples, as it's not fun to be the only single person at a table of eight.
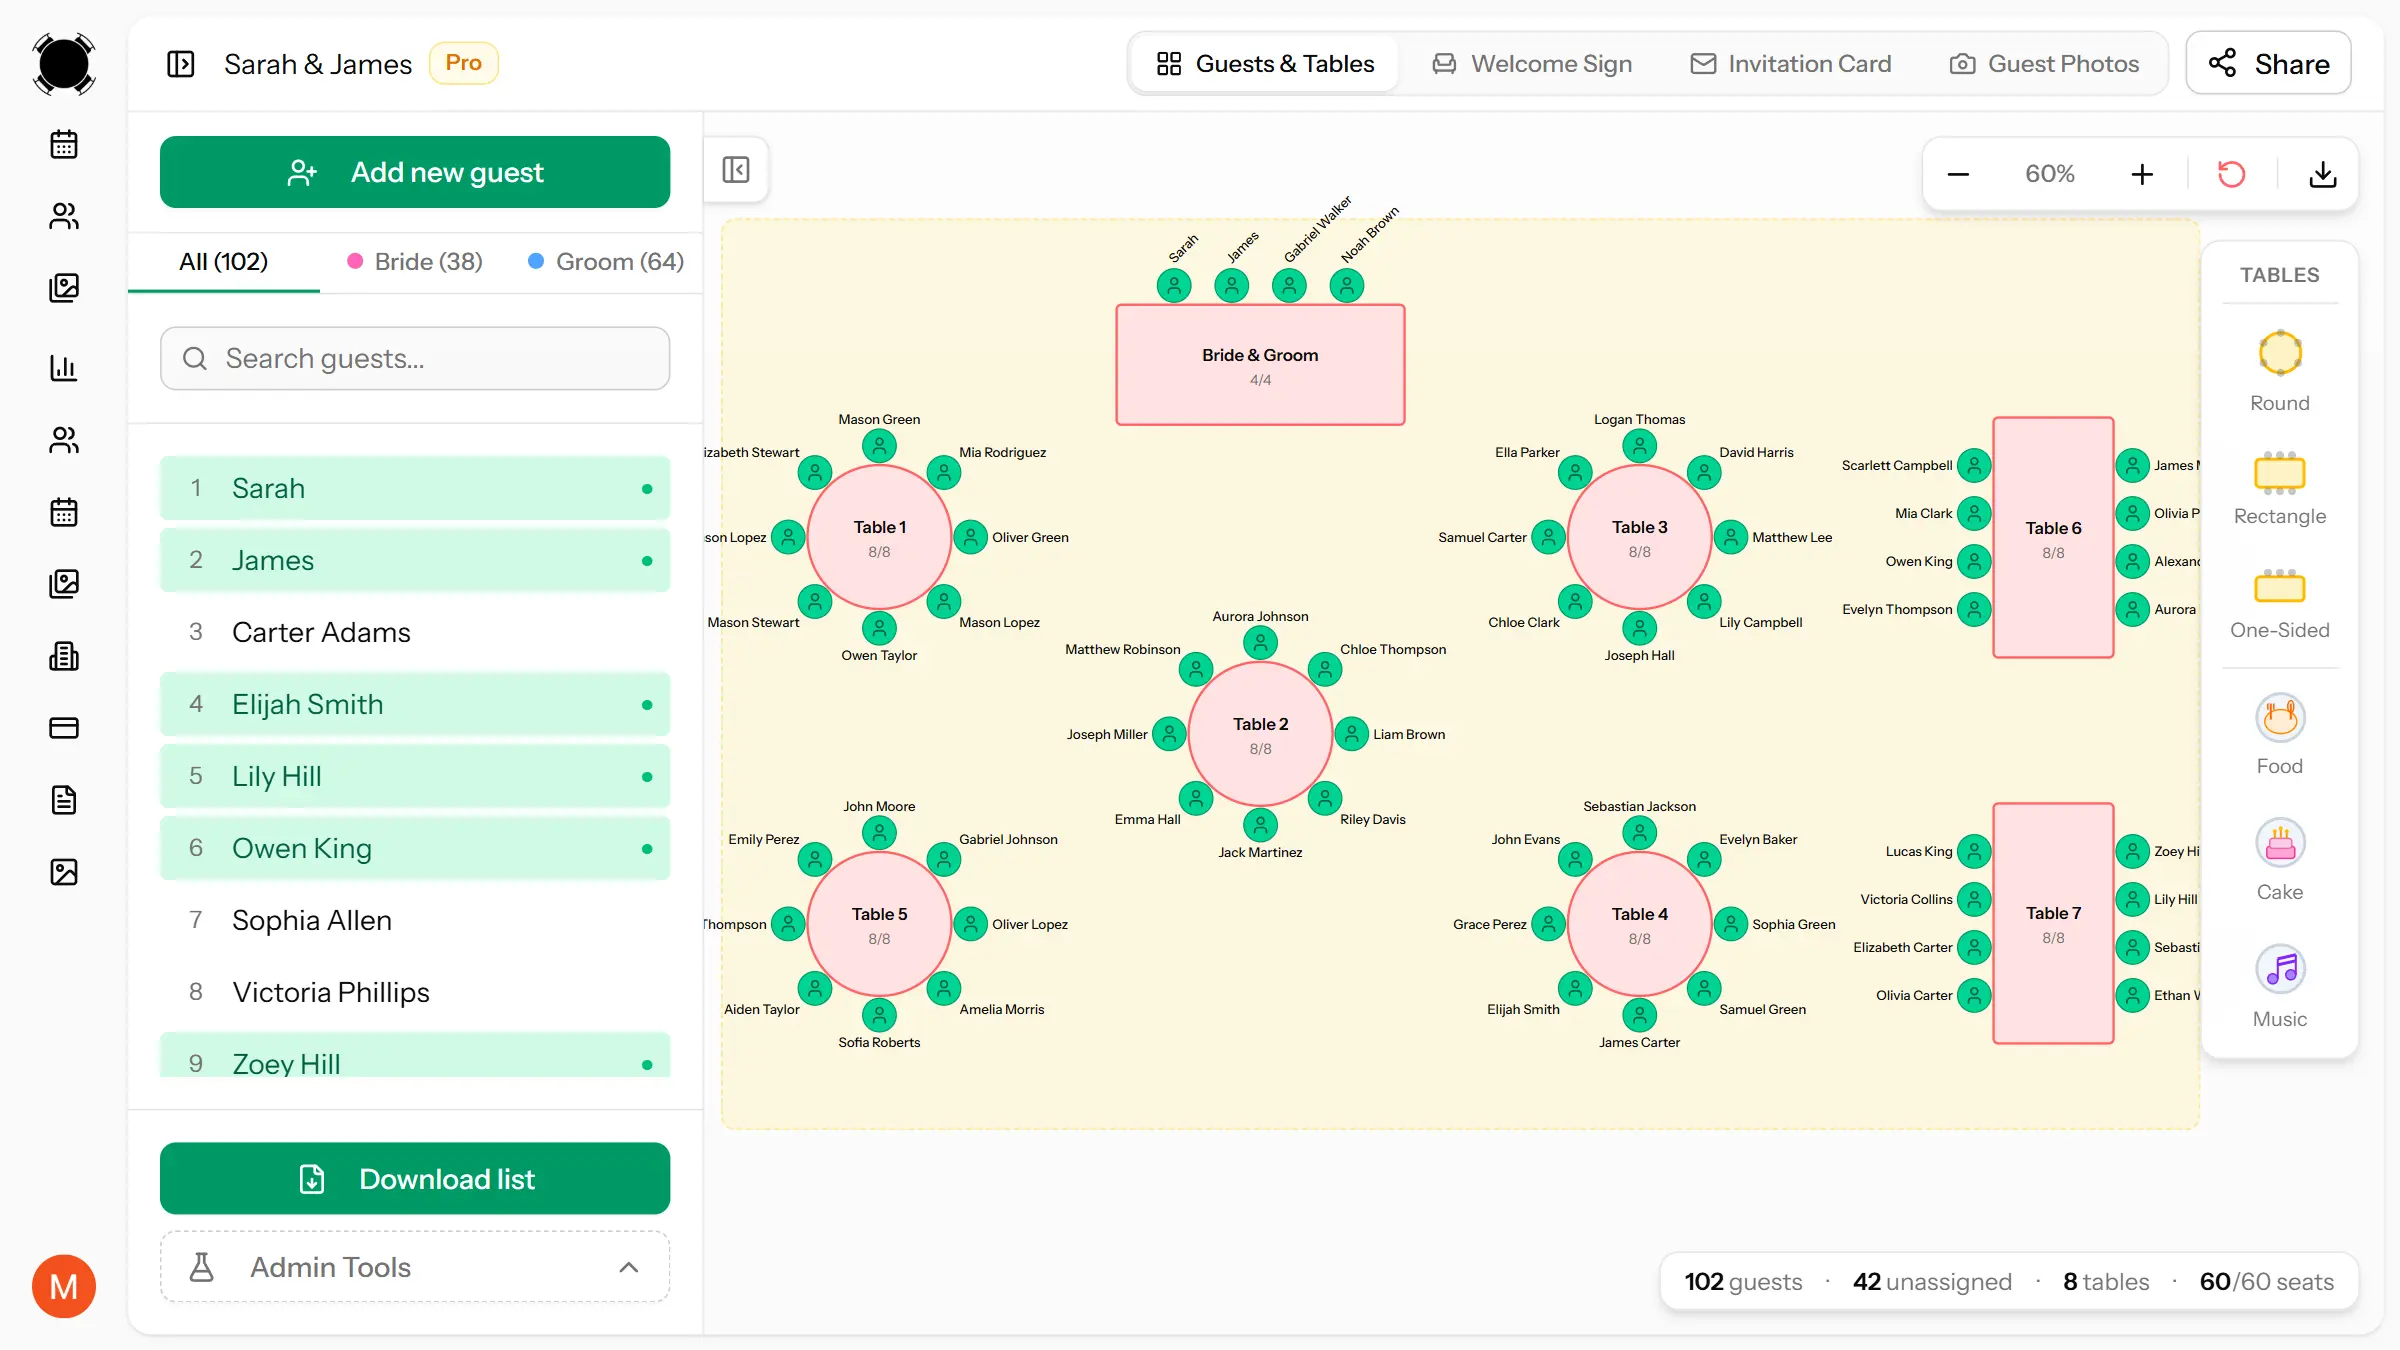
Step 5: Assign Tables (Then Seats)
Work in two passes:
First pass, assign groups to tables. Move your guest groups around until each table has the right number of people and a good mix. Don't worry about exact seat positions yet.
Second pass, assign specific seats. Once you're happy with the table assignments, decide who sits where within each table. Place people who know each other next to each other. Put more talkative guests next to quieter ones. Alternate genders if that matters to you, but don't force it.
For round tables, specific seat assignments are less critical since everyone faces each other. For long tables, seat position matters more, so put the most social people in the middle where they can talk to everyone.
A drag-and-drop tool like MySeatPlan makes this step much faster, as you can visually arrange guests on a floor plan and move them between tables in seconds.
Step 6: Review and Adjust
Once you have a complete draft, review it with these questions:
- Does every guest know at least one other person at their table?
- Are couples and dates sitting next to each other?
- Are there any known conflicts at the same table?
- Are elderly or mobility-impaired guests near exits and restrooms, away from speakers?
- Are families with young children near the edge of the room so they can step out easily?
- Is the head table or sweetheart table visible from most seats?
Run through this checklist once, make adjustments, then stop tweaking. Perfectionism is the enemy of a finished seating chart. If every guest knows someone at their table and no one is seated next to someone they can't stand, you've done your job.
Step 7: Last-Minute Changes
Between sending out your seating chart and the actual wedding, things will change. Guests will cancel, new plus-ones will appear, and your caterer might swap a table size. Plan for this:
- Keep 1–2 empty seats spread across different tables for last-minute additions
- Know which guests are flexible enough to move if you need to restructure a table
- Don't print place cards until 3–5 days before the wedding
- Use a digital seating chart tool like MySeatPlan so you can make quick edits without starting over on paper
Common Wedding Seating Chart Mistakes
Avoid these pitfalls that trip up most couples:
- Starting too early — don't build your chart until you have most RSVPs back. You'll redo it three times.
- Ignoring table capacity — squeezing 12 people at a 10-person table ruins everyone's comfort.
- Splitting couples — never separate a couple or a guest from their plus-one, even if it makes the numbers work better.
- Seating by obligation, not connection — your parents' neighbors don't need to sit with your college friends just because you're short one seat.
- Forgetting the vendors — if your photographer, videographer, or planner is eating, they need a seat too. Ask your venue or coordinator.
- Not accounting for the room layout — tables near the band or speakers will be loud. Don't seat elderly guests or families with babies there.
How Long Does It Take to Make a Seating Chart?
For a wedding with 100 guests and 10–12 tables, expect to spend:
- 30 minutes grouping guests and deciding on a layout
- 1–2 hours assigning guests to tables and adjusting
- 30 minutes for review and final tweaks
Total: 2–3 hours spread over one or two sessions. Doing it in one marathon session leads to decision fatigue and worse results. Take breaks.
Summary
Here's the process at a glance:
- Choose your table layout (round, long, or mixed)
- Decide on a head table or sweetheart table
- Group guests by relationship (family, friends, colleagues)
- Handle tricky situations (divorced parents, solo guests, conflicts)
- Assign groups to tables, then assign individual seats
- Review with the checklist, then stop tweaking
- Keep a digital version ready for last-minute changes
The goal isn't a perfect chart, it's one where everyone has a good time. If every guest is sitting near someone they know and away from anyone they can't stand, you've nailed it.
Frequently asked questions
-
The easiest way to create a wedding seating chart is to use an online tool like MySeatPlan that offers drag-and-drop seating. You can visually arrange guests on a floor plan, adjust tables in seconds, and avoid manual errors. This is faster and more flexible than using paper or spreadsheets.
Plan your perfect event seating arrangement
MySeatPlan gives you everything you need to organize your big day — all in one place.
- Drag-and-drop seating chart
- Guest list with RSVP tracking
- Export seating charts as images & PDF
- Share your plan with others via shareable link
- Design your invitation card
- Guest photo & video uploads